The most time consuming task for a portrait photographer is often culling and editing. A little transparency here: My name is Sarah and I’m an over-shooter. Throughout my entire career I find myself taking way. too. many. photos.
So many photos, friends. You have no idea.
But I also confess I’m a big girl, 28 years old, to be exact so I’ve learned a thing or two (actually three tips, ha!) I will share with you on how I have bettered myself & business.
Editing and culling, in fact, takes me longer than bookkeeping, filing taxes, client consultations, cleaning my studio, driving to sessions, and photographing my clients. I spend more time on this task than anything business related. I’m type A and cannot work without doing something to the fullest. While being detail oriented and business minded can have its perks, it also can be a millstone around you neck when it comes time to creating your art.
You see, part of being an awesome photographer is creating a collection for your clients. The session should encompass your genre fully. To elaborate, I specialize in posed newborn portraits. This means I work with precious new arrivals when they’re about 14 days or newer. There are several session types such as my bean bag mini to my full session. In my case, clients need to see a diverse and stunning gallery. The process, however, from taking the images, which is my time and talent, to the editing, culling, and researching is a lengthy one.
The longer I’ve been in business, the more I ask myself, “How can I reduce my editing and culling time?”
The answer is simple: Have your husband do it!
HA! I kid, totally joking. Humor aside, I admit I am a perpetual over shooter. I go into a session saying, “I’m going to take around 100 clicks and that’s it. Stop. Don’t do more.”
I would equate this, as a Mom, going into Target and saying, “I’m just going to buy toilet paper and a lunch box. That’s it. Toilet Paper. Lunch Box. This is the mission. Get in and get out.”
But then, you see that awesome Magnolia line by Joanna Gaines; there is a sale on mascara, and you can stop oooohing over the beautiful floor lamp that would look dashing your living room! Before you know it, you have $650 dollars of random items in your cart and you’re in the check out line without a memory of how you even got there, HA!
That’s how photographing a session is for me: I get caught up. I swoon over my clients. I get super excited about creating something new, all the options, all the creativity and aspects that before I know it, I have, like, 400 photos to go through. Okay, sometimes 500. Friends, actually sometimes even 700!!! That is nuts! Nobody needs to go through 700 photos. That’s not a collection - that’s going to overwhelm your client and yourself!
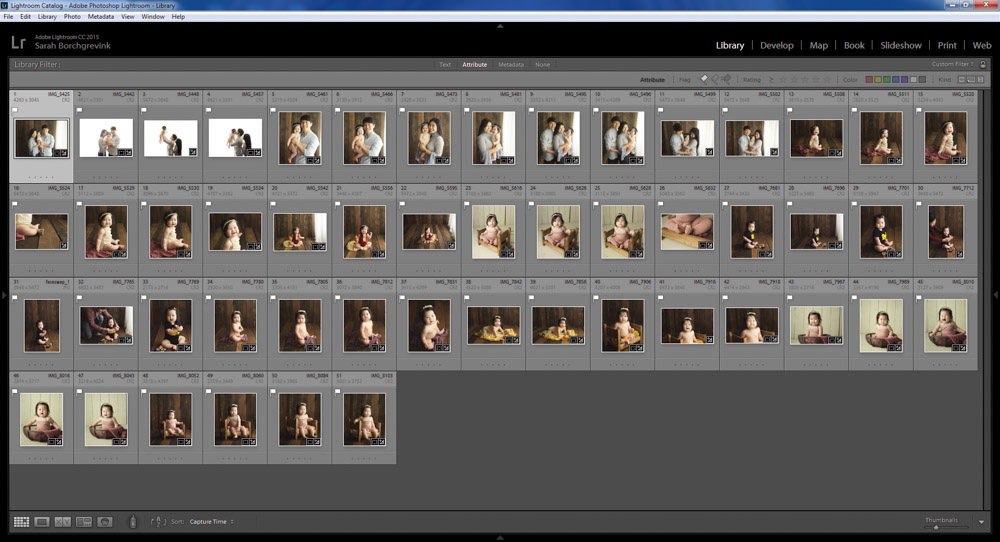
Example: Miso’s Little Sitter Session. She is a client of mine who is a baby plan membership plan, so going into the session I was already stoked to see them! We had a fantastic time in the first portion, the posed newborn, so when she came to my studio, I had a ton of plans and ideas in mind.
So much, in fact, that I took SIX-HUNDRED-FIFTY-ONE IMAGES. OH MY LORD. Do you know how many come in her session? 15. 15 images, friends. I typically show parents around 50, so I ended up editing 51, ha, because I’m an overachiever, ha!, but really - it was a learning task for me.
Her final proofing gallery is here, shown below, but along the way I learned some tricks that have since been implemented into my reduction of editing and culling time.
Refine Your Culling Process
This blog post is going to share how I have learned to efficiently and quickly cull my sessions in Lightroom specifically. This will cover a brief overview on fastest way to cull, why Lightroom is my choice for culling digital photos, and the workflow behind this. As a chronic over shooter, I have learned to reign myself in. While I still take too many photos, here and there, I have significantly reduced the time I spend in my office editing.
# 1 ) Stick to the session design plan
I am super guilty of adding additional setups to all of my sessions. Sometimes it’s going super well and I’ll think, “Hey, what’s one more?!” Well, before you know it, a session that had 2 set ups turns into a session with 7 set ups. Make yourself accountable. Do not include more setups than necessary; you’re not getting paid for more and you’re going to be sitting at the computer much longer. You could use that time to market, spend time with your loved ones, take a nap, focus on your other clients, or just be more present in your daily activities.
Being accountable and sticking to the game plan is the foundation for starting your editing and culling process off smoothly. If there’s not 651 photos to edit, than you’re already off to a better start!
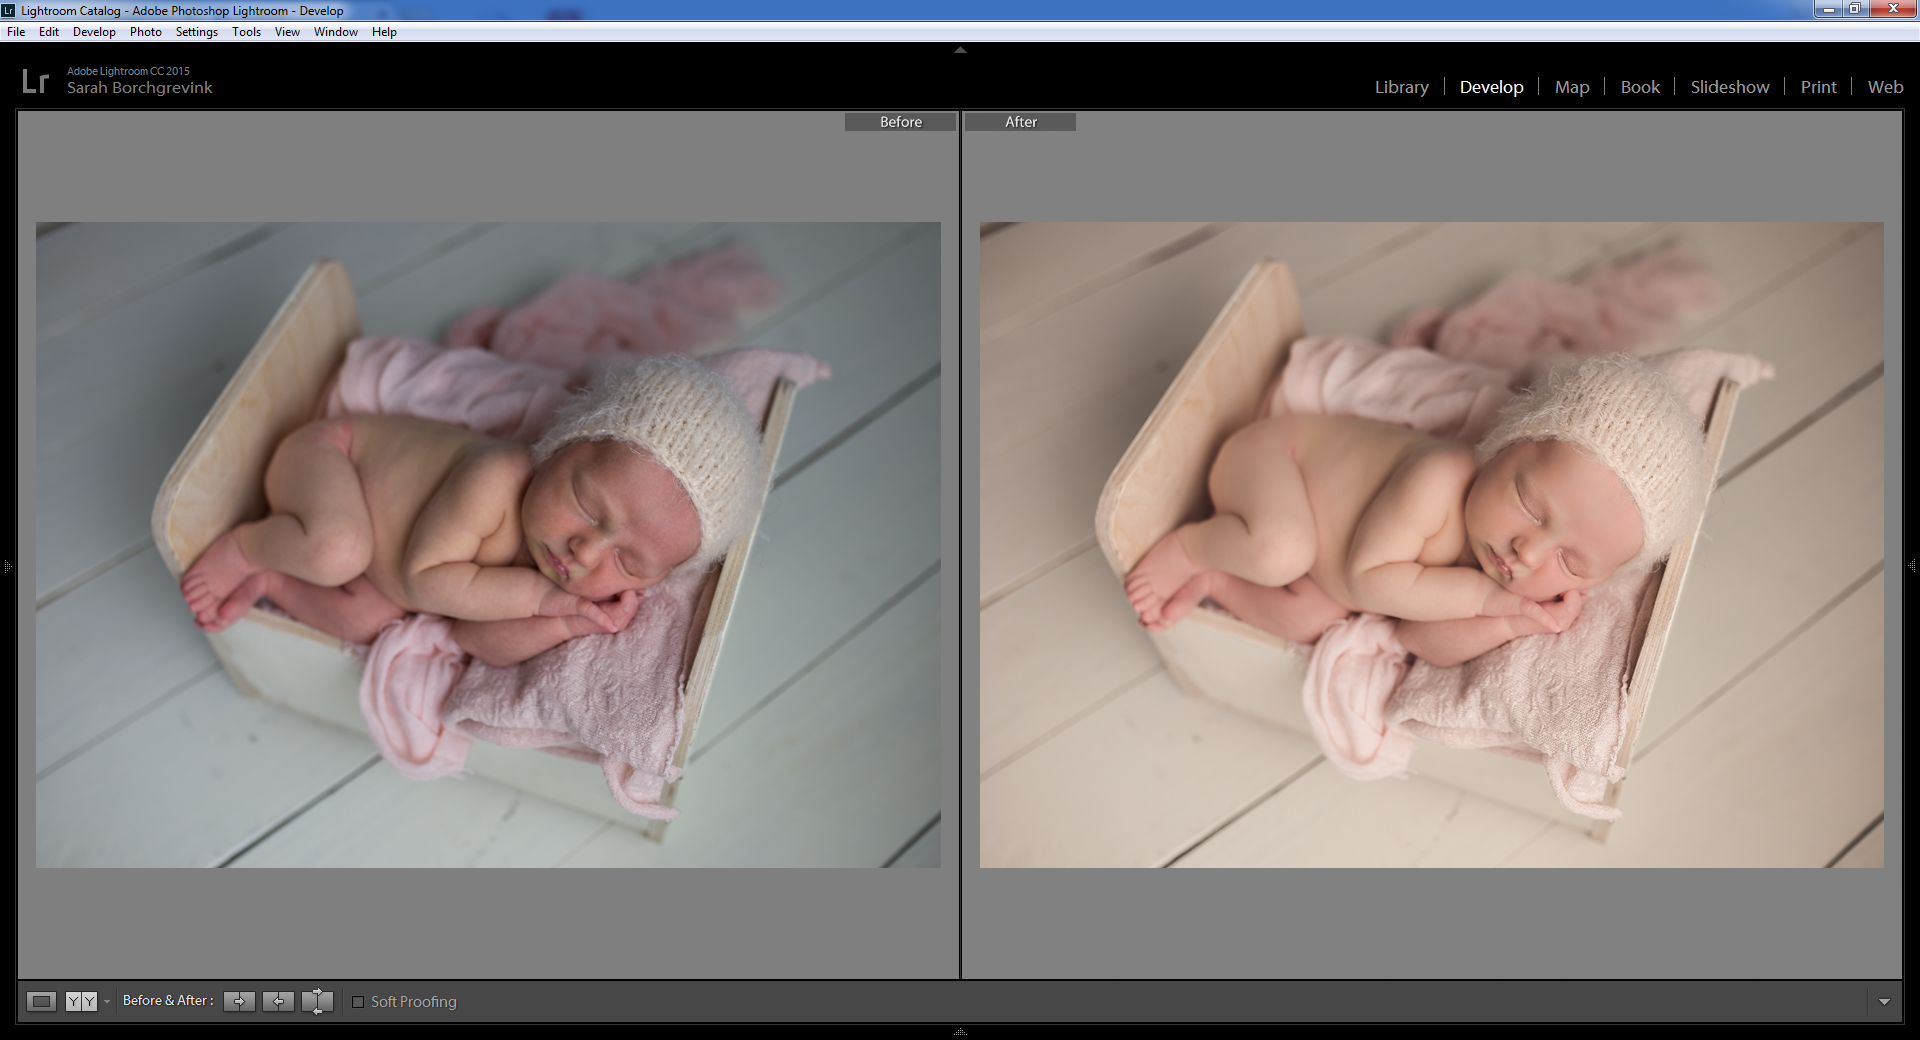
#2 ) TRY USING ADOBE LIGHTROOM TO CULL
I am a huge advocate for Lightroom editing software. All of my workflow takes here. However, while I adore Lightroom, I also believe you should use the software you’re most proficient and comfortable using. Some people use bridge, but my heart belongs to Lightroom and I do about 99 percent editing in there. A few tricks to culling a session in Lightroom will help reduce your editing time by removing the going back and forth, constantly comparing, feeling overwhelmed, and agonizing over each and every image.
An initial flag to select
Star rating system
I use Lightroom to flag those images I like and then use a star rating. I only edit the 5 star images. There’s no point in showing a client an image that does not meet my extremely high standards and expectations for my portraiture work.
Lightroom is my choice for editing because the flagging system is very quick. It’s literally a click. That’s it. You can also reject or “unflag” images easily, too, and have Lightroom show only what you want to be shown. You can also use colors and a 1-5 star rating system if you want to be very particular.
# 3) Be Discerning | Follow this checklist
Once my images are imported into Lightroom I get serious. I am super objective about the images because my photography reputation is ultra important to me. I do not release images that are anything but high quality and so following this checklist will help streamline your culling process and ultimately ensuring you spend much less time editing because you’re only working on the top images. Your time is best spent on creating. Not culling and agonizing for hours a day.
Fast culling in Lightroom will naturally develop through this list. The more discerning you are and focus only on the best of the best, the more you will wow your clients and serve them.
Always discard images that fall into these categories:
Out of focus
Eyes closed
Odd or uncomfortable facial expressions
Repetitive pose or setup
We discard these images because unless the photo is sharp, stands on it’s own as a diverse option, and is worthy of being framed than it does not deserve your time! Clients should be wowed and over the moon when they receive the proofing images. They should not feel like it’s the same image over and over and over. That’s why sticking your plan, which is tip number one, is the foundation to drastically reducing culling and editing time.
I have now reduced my editing time by almost two hours/session simply by implementing stricter standards for myself. What would you do with an extra two hours per day? You could bake a cake! You could go for a walk! You could take a nap. You could take your kiddos to the park or surprise your spouse with a picnic! The options are endless. You are valuable. Your time is valuable. Your time should not be spend hunched over a PC deciding which of the 800 images are going to make the final 15.
Ultimately, the strongest images from Miso’s session were the following:


If you enjoyed reading how I’ve reduced my culling and editing time via Lightroom and other helpful tips you may enjoy reading blog posts sharing these topics, too!
8 Ways to Have an Amazing Family/Maternity Session
Sarah Borchgrevink Photography is a Houston Newborn Photographer specializing in gorgeous posed newborn sessions. Her studio is located in Northwest Harris County. In addition to breathtaking baby portraiture, Sarah also offers stylish natural light family photography as well as dynamic outdoor maternity sessions for expecting mothers and couples. Sarah joyfully serves the entire Harris and Montgomery county areas including Houston, Cypress, Tomball, Spring, The Woodlands, Kingwood, Memorial & West Houston, Katy, Sugar Land, Pearland, Richmond, West University and Rice Village.