how to photograph newborns

What’s in my camera bag? Must Have Lenses & Gear for Baby Photographers

Best Canon Lenses for Newborn Photography | Recommendations for Accessory and Gear

Hey, friends! Welcome to my blog! Today’s post is taking a little break from showcasing a typical posed session and focuses on the technical side of photography: the gear! Now, I know you’re thinking that a fancy camera is all you need to take amazing newborn images; a great camera body is an awesome foundation, nevertheless, there are several lenses you need, too, to ensure top quality!

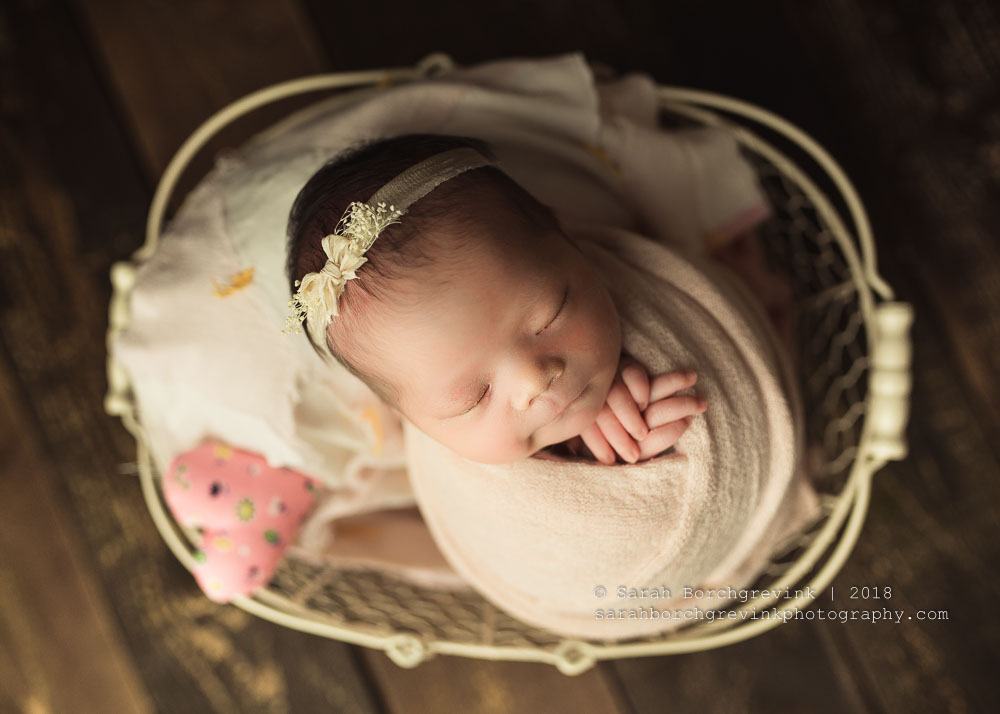
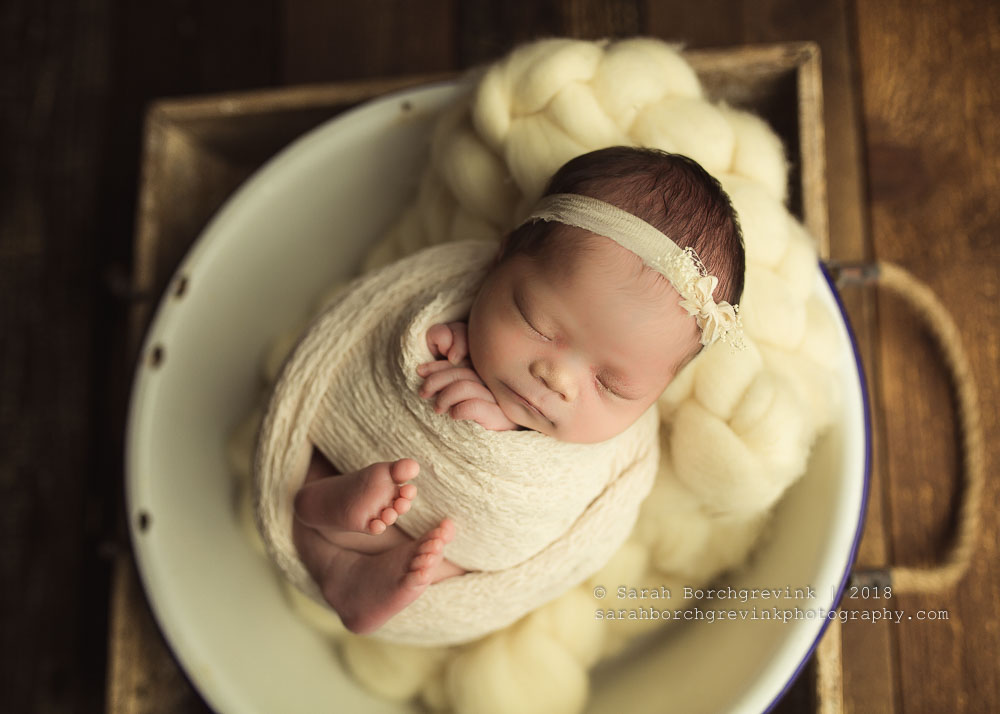
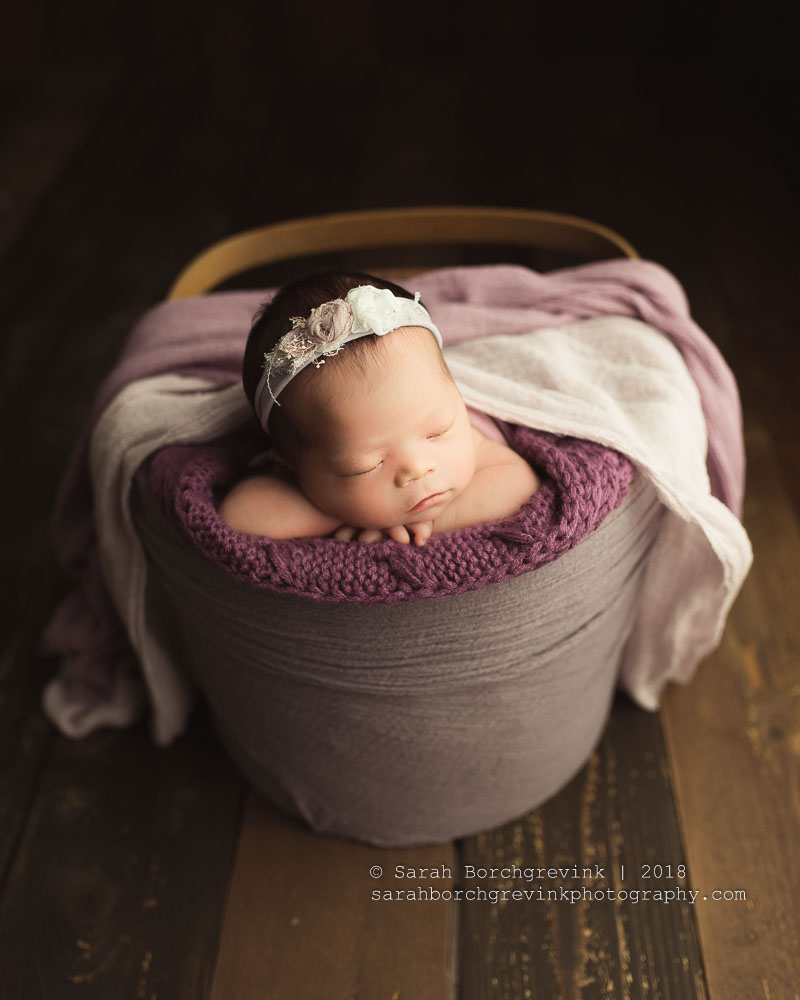
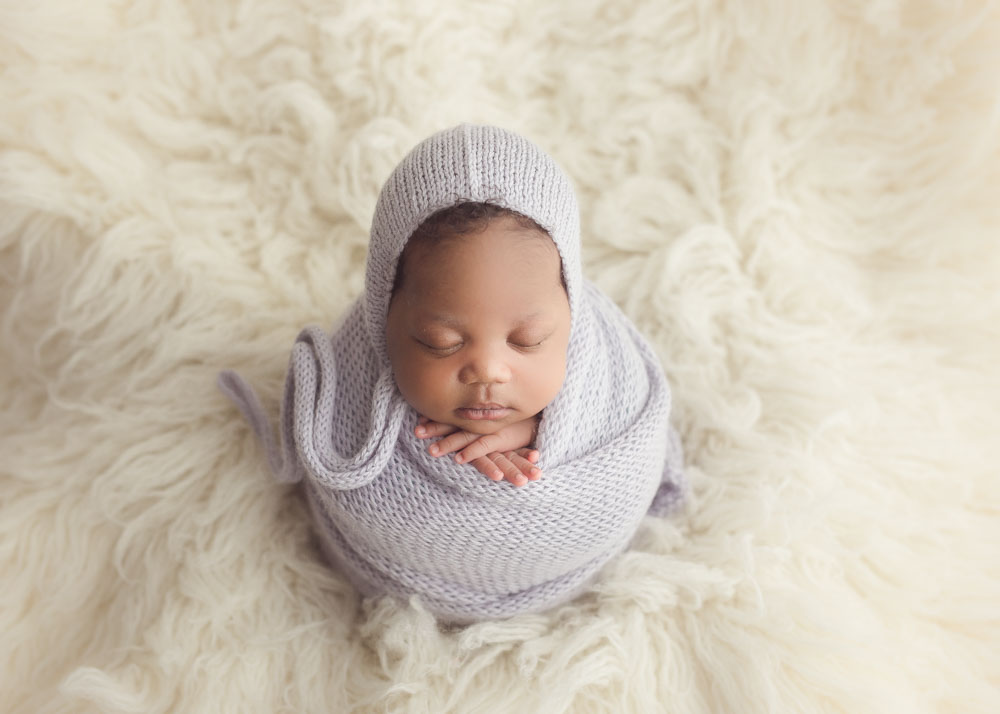
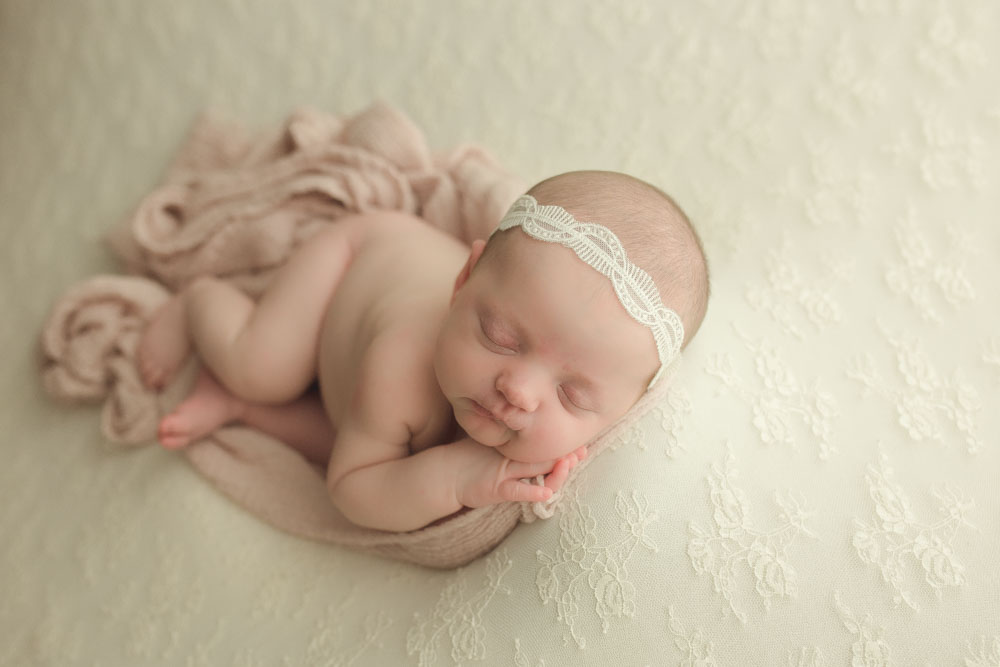
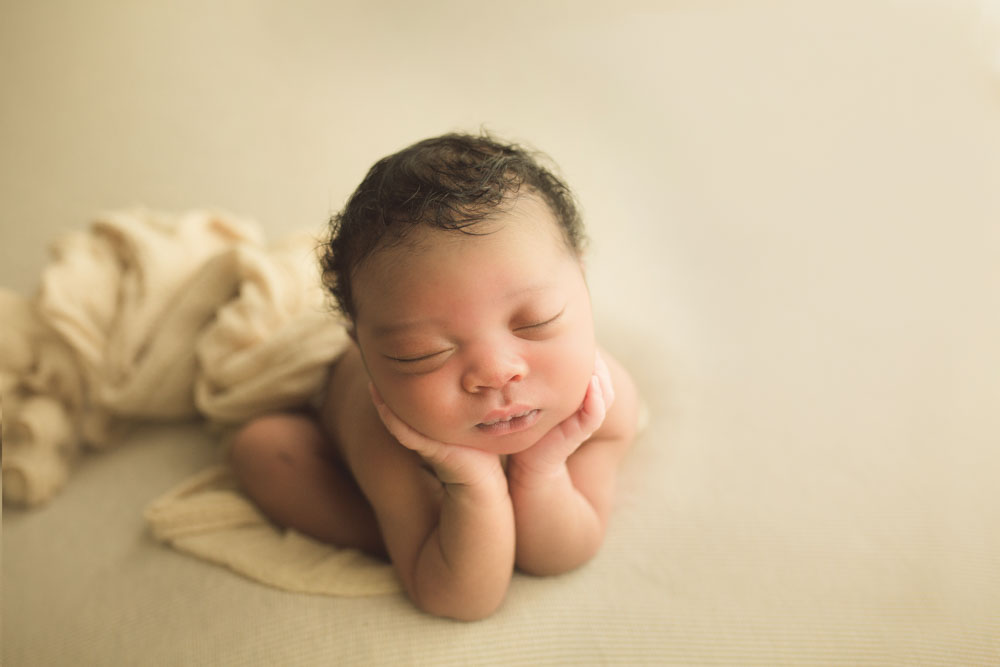
A little background about me, especially if this is your first time visiting! My name is Sarah Borchgrevink (Bork-grey-veenk) and I’m a professional portrait artist in Houston! I specialized in those brand new, squishy images of earthside cherubs, preferably in the first 14 days of life! I have photographed over 900 newborns to date and average around 250 babies per year. This in mind, having the best gear accessible to my studio is a huge priority of mine! Let’s get started on 5 items you cannot live without!

Full Frame Camera Bodies | Team Canon!

best camera for newborn photography

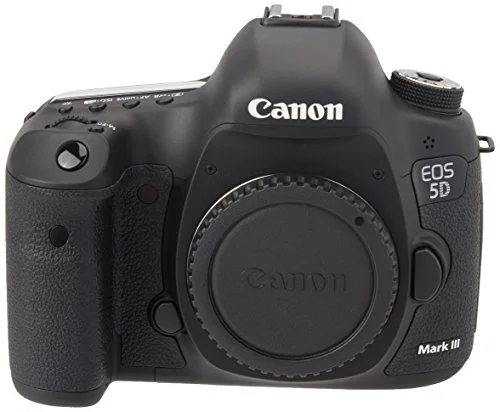
Before we get started you should know that both Canon and Nikon are fantastic options! I would compare them to luxury car brands such as BMW or Lexus: ultimately, it comes down to which body you prefer and what feels “best” in your hands, similar to test driving a vehicle before making a final purchase. I personally am team Canon! I started with this brand and have been a loyal customer.


I have the following full frame camera bodies in my studio:

What Lenses for Posed Infant Photography?

Now that you’ve read about the two camera bodies I keep on hand, and use at the same time, I am super excited to share my three favorite lenses I utilize for each and every little one who visits! While I have several other prime lenses that I use for my outdoor work, these are the must haves when working with newborn babies.

Unique Lens to Create Works of Creative Art | 100 mm

newborn photography lenses

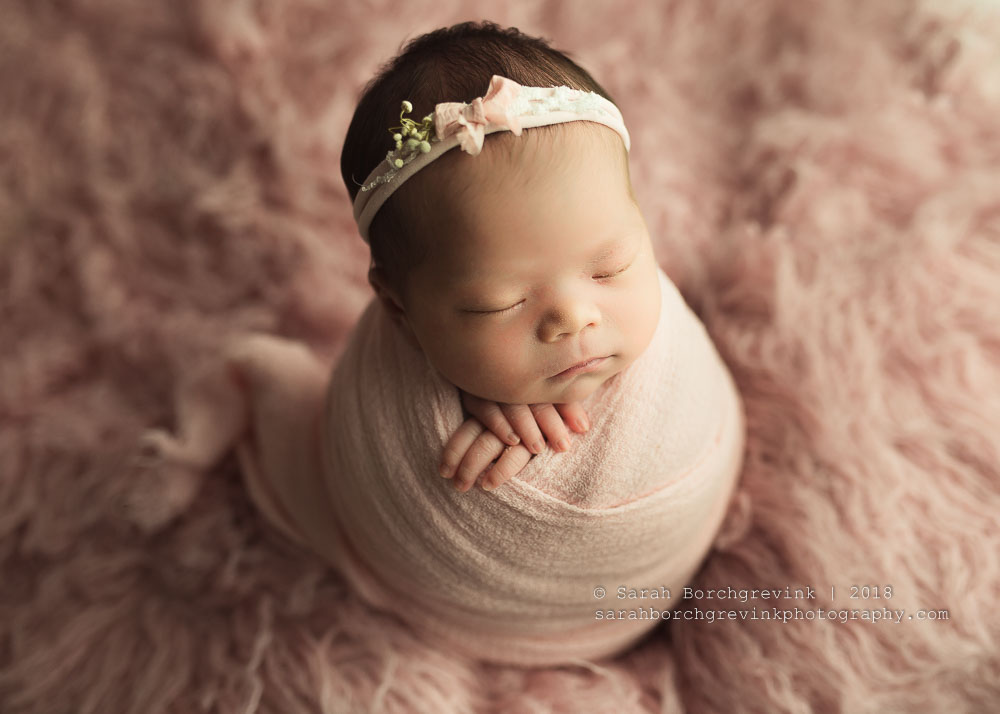
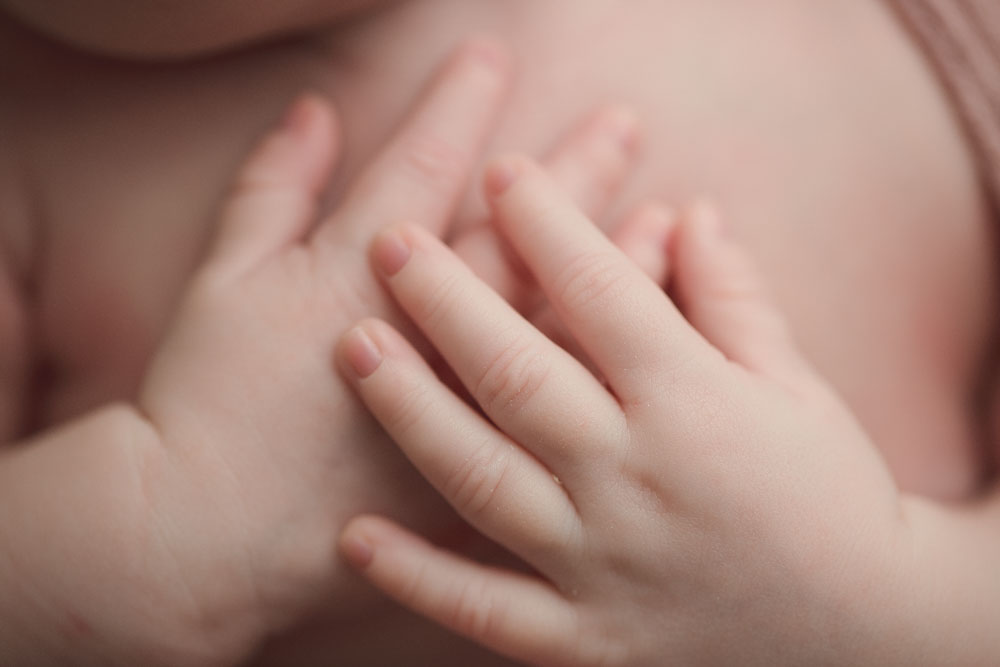
Of all my lenses, the 100 mm macro is a complete & total dream! This lens makes me so excited and happy to work with little ones because it focuses on all things details. Macro images are a huge part of my newborn photography; this gives your gallery a soulful dynamic and truly sets your images apart! A common question I receive, from parents, is ‘What are macro images?”

Macro images is simply photography producing photography of small items larger than life size. This means the up-close details of your little one, such as their lips, eye lashes, toes, hands, etc., essentially the characteristics that shine through and give your baby their own unique aspect.

Macro lenses are how you create unique and artistic images highlighting the absolute breathtaking beauty in a brand new little one!

newborn macro features
newborn photography tips
photographing up close details of babies
using a macro lens for newborn photography
best newborn photography lenses

The Ultimate Workhorse | Nifty Fifty Redefined as a Sigma ART

what lens for newborn photography?

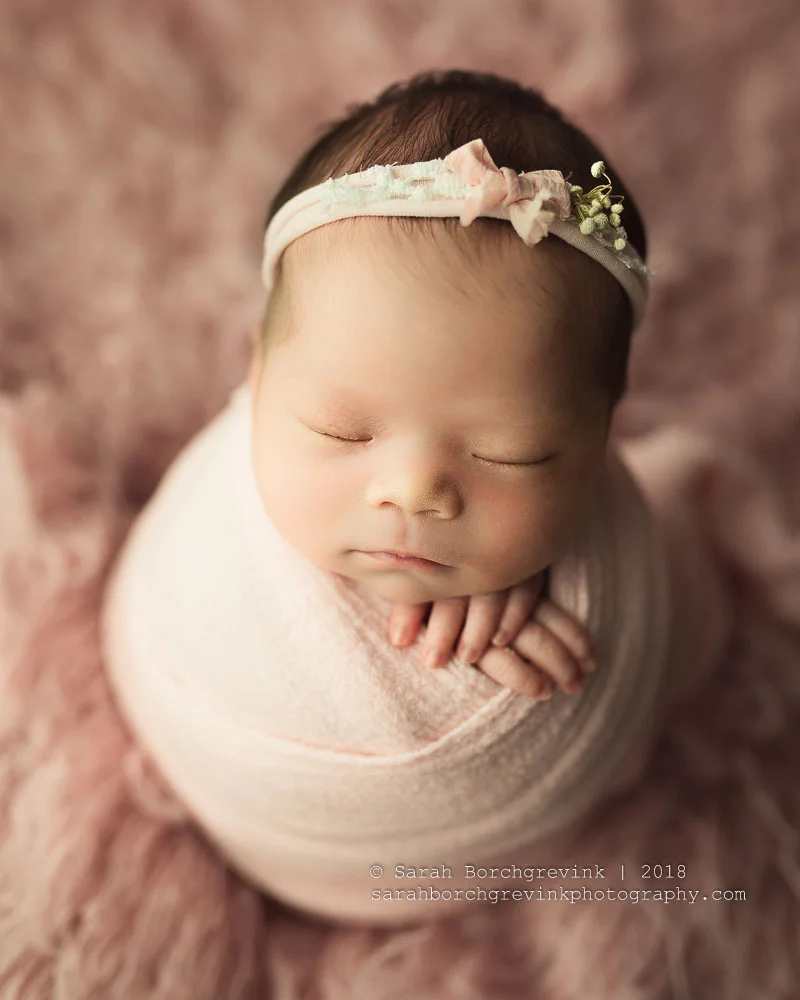
Okay, y’all: about 60 percent of my newborn sessions are shot with the nifty fifty, specifically the Sigma ART. I adore this lens. Sharpness, crisp imagery, low light aperture, but also a tank that holds up over time! This is a must have lens for newborn photography because it versatile; most of the cropping is done in camera to result in higher image quality and it also has less distortion since it’s also a longer focal length than the 35 listed below. Now, this lens will truly rock your world! Moreover, the background compression is just enough for a posed baby session so you can see all the features of a wee one without having to worry you’ll lose too much of the focus.

newborn photography 50 mm
best newborn lens for professional photography
what do i need for newborn photography
best lens for newborn photography
baby photography lens recommendations

A nice addition & perspective | 35 mm

essential newborn photography must haves

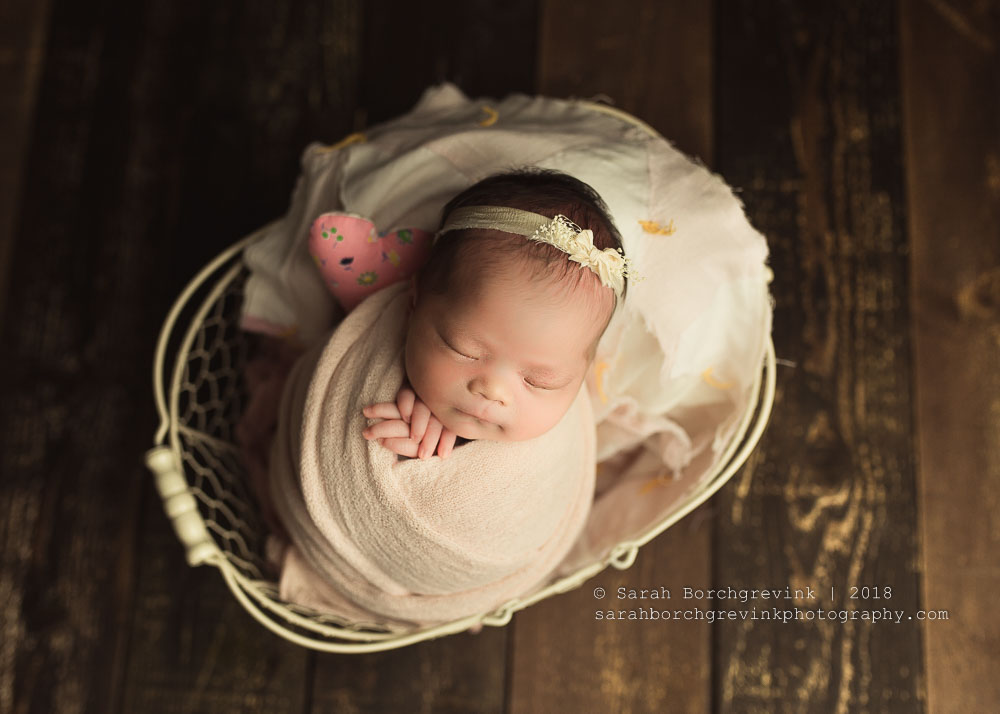
The 35 mm f/1.4 ART was my favorite newborn lens for the first few years I photographed my petite clients; however, overtime it became a runner up to the ever so special lenses listed above. While this is not my favorite lens anymore, you still can’t be without it, HA! Let me explain. I totally understand I have contradicted myself. This lens allows you to do something super unique and special: composite your own froggy poses. Yes, I do these myself. Yes, I have taken newborn workshops and mentoring. Yes, I am always practicing safety. The 35 allows you to also have interesting perspectives such as overhead photos, too! While the 50 is my preference the 35 will always be special because of those two advantages.

newborn froggy pose composite
how to pose baby in froggy with composite
35 mm newborn photography lens

In conclusion, the gear listed above are my recommendations for awesome newborn photography! However, these are just simple tips and tricks; many artists use different lenses and there is no “correct” way to photograph newborns as long as you’re doing so safely. Newborn photography is absolutely a journey and we all start somewhere with our gear.

If you liked reading about my lens recommendations for creating stunning newborn images, you may enjoy reading about these topics, too:

Located in Harris County, Sarah Borchgrevink Photography is a Houston Newborn Photographer specializing in unique and timeless posed sessions! Sarah also offers breathtaking studio milestone infant sessions, and is honored to be named Best Newborn Photographers Houston 2016, 2017, 2018, & 2019! Sarah serves the entire Harris and Montgomery County areas including Houston, Cypress, Spring, Tomball, The Woodlands, Sugar Land, Katy, Memorial & Galleria, West University, Kingwood and Rice Village.

3 Tips to Reduce Editing & Culling Time | Confessions of a Chronic “Overshooter”

The most time consuming task for a portrait photographer is often culling and editing. A little transparency here: My name is Sarah and I’m an over-shooter. Throughout my entire career I find myself taking way. too. many. photos.

So many photos, friends. You have no idea.

But I also confess I’m a big girl, 28 years old, to be exact so I’ve learned a thing or two (actually three tips, ha!) I will share with you on how I have bettered myself & business.

Editing and culling, in fact, takes me longer than bookkeeping, filing taxes, client consultations, cleaning my studio, driving to sessions, and photographing my clients. I spend more time on this task than anything business related. I’m type A and cannot work without doing something to the fullest. While being detail oriented and business minded can have its perks, it also can be a millstone around you neck when it comes time to creating your art.

You see, part of being an awesome photographer is creating a collection for your clients. The session should encompass your genre fully. To elaborate, I specialize in posed newborn portraits. This means I work with precious new arrivals when they’re about 14 days or newer. There are several session types such as my bean bag mini to my full session. In my case, clients need to see a diverse and stunning gallery. The process, however, from taking the images, which is my time and talent, to the editing, culling, and researching is a lengthy one.

The longer I’ve been in business, the more I ask myself, “How can I reduce my editing and culling time?”

The answer is simple: Have your husband do it!

HA! I kid, totally joking. Humor aside, I admit I am a perpetual over shooter. I go into a session saying, “I’m going to take around 100 clicks and that’s it. Stop. Don’t do more.”

I would equate this, as a Mom, going into Target and saying, “I’m just going to buy toilet paper and a lunch box. That’s it. Toilet Paper. Lunch Box. This is the mission. Get in and get out.”

But then, you see that awesome Magnolia line by Joanna Gaines; there is a sale on mascara, and you can stop oooohing over the beautiful floor lamp that would look dashing your living room! Before you know it, you have $650 dollars of random items in your cart and you’re in the check out line without a memory of how you even got there, HA!

That’s how photographing a session is for me: I get caught up. I swoon over my clients. I get super excited about creating something new, all the options, all the creativity and aspects that before I know it, I have, like, 400 photos to go through. Okay, sometimes 500. Friends, actually sometimes even 700!!! That is nuts! Nobody needs to go through 700 photos. That’s not a collection - that’s going to overwhelm your client and yourself!

Example: Miso’s Little Sitter Session. She is a client of mine who is a baby plan membership plan, so going into the session I was already stoked to see them! We had a fantastic time in the first portion, the posed newborn, so when she came to my studio, I had a ton of plans and ideas in mind.

So much, in fact, that I took SIX-HUNDRED-FIFTY-ONE IMAGES. OH MY LORD. Do you know how many come in her session? 15. 15 images, friends. I typically show parents around 50, so I ended up editing 51, ha, because I’m an overachiever, ha!, but really - it was a learning task for me.

Her final proofing gallery is here, shown below, but along the way I learned some tricks that have since been implemented into my reduction of editing and culling time.

culling and editing in lightroom

Refine Your Culling Process

This blog post is going to share how I have learned to efficiently and quickly cull my sessions in Lightroom specifically. This will cover a brief overview on fastest way to cull, why Lightroom is my choice for culling digital photos, and the workflow behind this. As a chronic over shooter, I have learned to reign myself in. While I still take too many photos, here and there, I have significantly reduced the time I spend in my office editing.


# 1 ) Stick to the session design plan

I am super guilty of adding additional setups to all of my sessions. Sometimes it’s going super well and I’ll think, “Hey, what’s one more?!” Well, before you know it, a session that had 2 set ups turns into a session with 7 set ups. Make yourself accountable. Do not include more setups than necessary; you’re not getting paid for more and you’re going to be sitting at the computer much longer. You could use that time to market, spend time with your loved ones, take a nap, focus on your other clients, or just be more present in your daily activities.

Being accountable and sticking to the game plan is the foundation for starting your editing and culling process off smoothly. If there’s not 651 photos to edit, than you’re already off to a better start!

#2 ) TRY USING ADOBE LIGHTROOM TO CULL

I am a huge advocate for Lightroom editing software. All of my workflow takes here. However, while I adore Lightroom, I also believe you should use the software you’re most proficient and comfortable using. Some people use bridge, but my heart belongs to Lightroom and I do about 99 percent editing in there. A few tricks to culling a session in Lightroom will help reduce your editing time by removing the going back and forth, constantly comparing, feeling overwhelmed, and agonizing over each and every image.

  • An initial flag to select

  • Star rating system

I use Lightroom to flag those images I like and then use a star rating. I only edit the 5 star images. There’s no point in showing a client an image that does not meet my extremely high standards and expectations for my portraiture work.

Lightroom is my choice for editing because the flagging system is very quick. It’s literally a click. That’s it. You can also reject or “unflag” images easily, too, and have Lightroom show only what you want to be shown. You can also use colors and a 1-5 star rating system if you want to be very particular.

# 3) Be Discerning | Follow this checklist

Once my images are imported into Lightroom I get serious. I am super objective about the images because my photography reputation is ultra important to me. I do not release images that are anything but high quality and so following this checklist will help streamline your culling process and ultimately ensuring you spend much less time editing because you’re only working on the top images. Your time is best spent on creating. Not culling and agonizing for hours a day.

Fast culling in Lightroom will naturally develop through this list. The more discerning you are and focus only on the best of the best, the more you will wow your clients and serve them.

Always discard images that fall into these categories:

  1. Out of focus

  2. Eyes closed

  3. Odd or uncomfortable facial expressions

  4. Repetitive pose or setup

We discard these images because unless the photo is sharp, stands on it’s own as a diverse option, and is worthy of being framed than it does not deserve your time! Clients should be wowed and over the moon when they receive the proofing images. They should not feel like it’s the same image over and over and over. That’s why sticking your plan, which is tip number one, is the foundation to drastically reducing culling and editing time.

I have now reduced my editing time by almost two hours/session simply by implementing stricter standards for myself. What would you do with an extra two hours per day? You could bake a cake! You could go for a walk! You could take a nap. You could take your kiddos to the park or surprise your spouse with a picnic! The options are endless. You are valuable. Your time is valuable. Your time should not be spend hunched over a PC deciding which of the 800 images are going to make the final 15.

Ultimately, the strongest images from Miso’s session were the following:

culling in lightroom
culling images in lightroom
fast culling in lightroom

If you enjoyed reading how I’ve reduced my culling and editing time via Lightroom and other helpful tips you may enjoy reading blog posts sharing these topics, too!


Ninja Wrapping Skills | Artistic and Cozy Ways to Feature a New Baby

Houston Newborn Photographer, Sarah Borchgrevink, features three darling ways to wrap a baby during their portraiture session.

Stunning Wrapping Techniques

Howdy, friends! Welcome! Today's blog post is an overview of beautiful newborn wrapping that's both artistic and cozy. It's all about displaying baby in a lovely way while keeping the little one happy and safe. 

Part of being a custom newborn photographer is having unique ninja wrapping skills, ha! Often when the parents are in the studio, they will marvel at how baby immediately goes to sleep once I begin working with little one; they will even ask for a quick tutorial on wrapping techniques, too! 

The wrapping skills I've learned are from one on one mentoring; however, over time I've learned several great tips simply from practice. I have a huge variety of newborn wraps; literally hundreds, lol! For example, sometimes I use chunky knit, other times wispy cheesecloth that's light and delicate. Either way, I have every color, size, and texture you could possibly want.

The newborn wrapping is also a great tool to have in your studio because it's a great option for babies who are super petite and maybe do not enjoy being handled or also for parents who do not like naked bean bag posed images. Some parents prefer the modest look of wrapping or how cozy and sweet it is; being able to offer your clients several options is a huge plus for your business.

The three styles of wrapping techniques I'll be sharing today are my favorites and are part of my workflow: tootsie, potato sack and then cradle.

Awesome pictures! We went recently for a newborn session for our first child. Will be cherishing those pictures for a long time. :)
— Tina
how to wrap a newborn in a stretchy wrap
tootsie style of wrapping newborn photography
newborn photography tootsie wrap style

Potato Sack Pose 

potato sack pose tutorial
how to prop a baby up for photos
potato wrap newborn

Potato Sack in Floor Prop Pose

potato sack in floor prop pose
newborn photography tutorial
newborn photography potato sack pose

Cradle Wrap

newborn photography houston
best newborn photography houston

Baby in a Bucket Pose

newborn bucket prop
how to pose newborn in a basket
newborn photography pose in a bucket

As always, thanks for stopping by my blog! I hope you enjoyed seeing stunning images of sweet, new babies in the three favorite styles of wrapping such as potato, straight jacket and tootise. Before you go, you may be interested in reading more information on these topics.